

Switching your Conan Exiles server to the Isle of Siptah map opens up an entirely new world filled with unique biomes, challenging encounters, and exclusive content not found in the Exiled Lands. Whether you’re looking to start a fresh adventure, explore Siptah’s mysterious storm mechanics, or give your community a new environment to build and thrive in, changing the server map is a straightforward process. This guide walks you through how to set your Conan Exiles server to the Isle of Siptah map, ensuring your configuration is correct and your players can jump into the new world without issues.
Switching to the Isle of Siptah Map on Your Conan Exiles Server
1. Log in to your Game Control Panel, then head over to your server service.
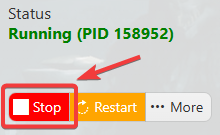
2. Before making any changes, stop the server by clicking the Stop button.
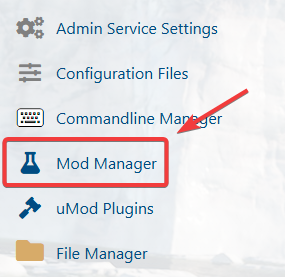
3. Navigate to the Mod Manager Task section.
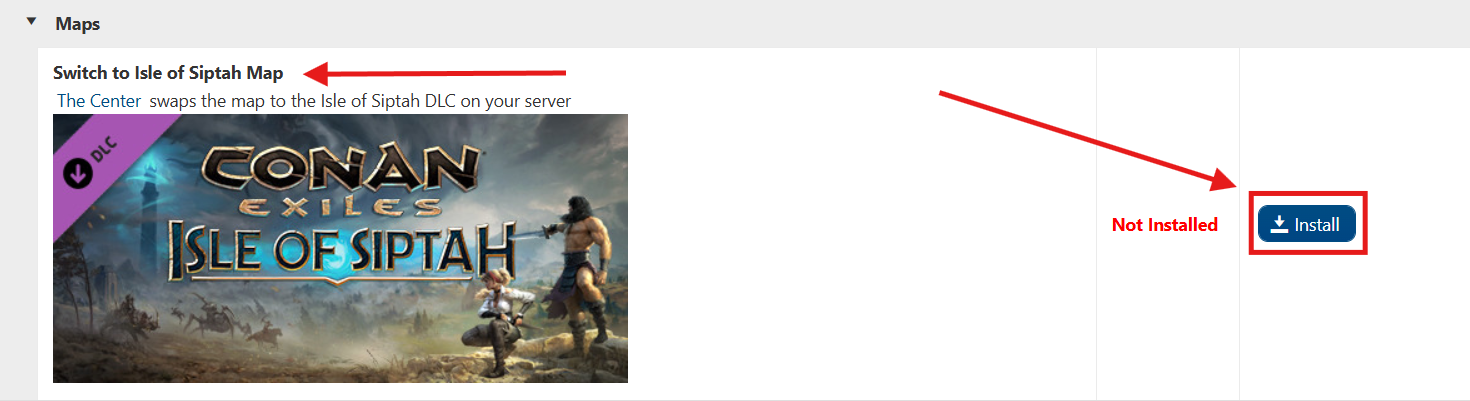
4. Install the Isle of Siptah map files to ensure the server can load the new world properly.
5. Once installed, navigate to the Commandline Manager and click Modify on the activated commandline to open its configuration options.

6. After editing, click the Apply button to save the changes.

7. Next, go to the Configuration Files section, locate the Engine.ini file, and click Text Editor to open it.

8. In the Text Editor, add the following lines to the Engine.ini file:
[/Script/EngineSettings.GameMapsSettings]
ServerDefaultMap=/Game/DLC_EXT/DLC_Siptah/Maps/DLC_Isle_of_Siptah
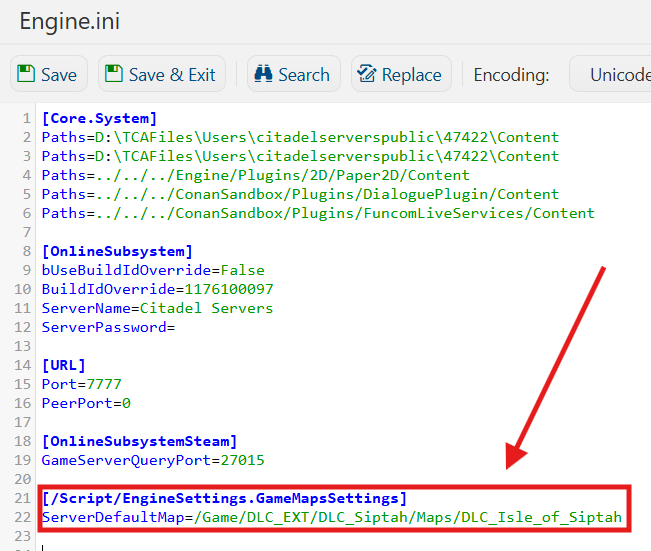
9. After making changes, click the Save button to apply.

If you encounter any issues, please click here to contact our support team via a ticket for further assistance.