

This guide will help you How to Customize Weather and Enable Snow on your DayZ Server
Customizing weather on your DayZ server lets you shape the atmosphere, difficulty, and overall feel of your world. Whether you want harsher storms, clearer skies, or a fully snow‑covered environment, adjusting the weather system gives you precise control over how players experience your server. By configuring the weather settings and enabling snow effects, you can create unique seasonal themes, improve immersion, or support specific gameplay scenarios. This guide walks you through the essential files, parameters, and best‑practice adjustments needed to customize weather and activate snow on your DayZ server with confidence.
Configuring Weather and Snow Effects on Your DayZ Server
The DayZ weather system includes a range of adjustable settings that let you shape how conditions evolve in‑game.
1. Modify the scripted weather state machine by overriding the WorldData::WeatherOnBeforeChange method (see 4_World\Classes\Worlds\Enoch.c for a practical example).
2. Call MissionWeather(true) on the weather object inside your mission’s init.c (main()), then control conditions using the available Weather API functions (see 3_Game\Weather.c for detailed documentation).
3. Use the cfgweather.xml file located in the mission folder (or within the world files) to define and control weather behavior.
Editing the cfgweather XML file
1. Log in to your Game Control Panel, then head over to your server service.
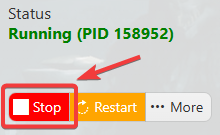
2. Before making any changes, stop the server by clicking the Stop button.
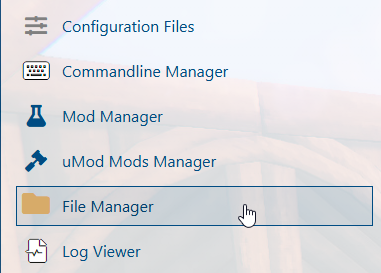
3. Navigate to the File Manager to view and manage your server directory.
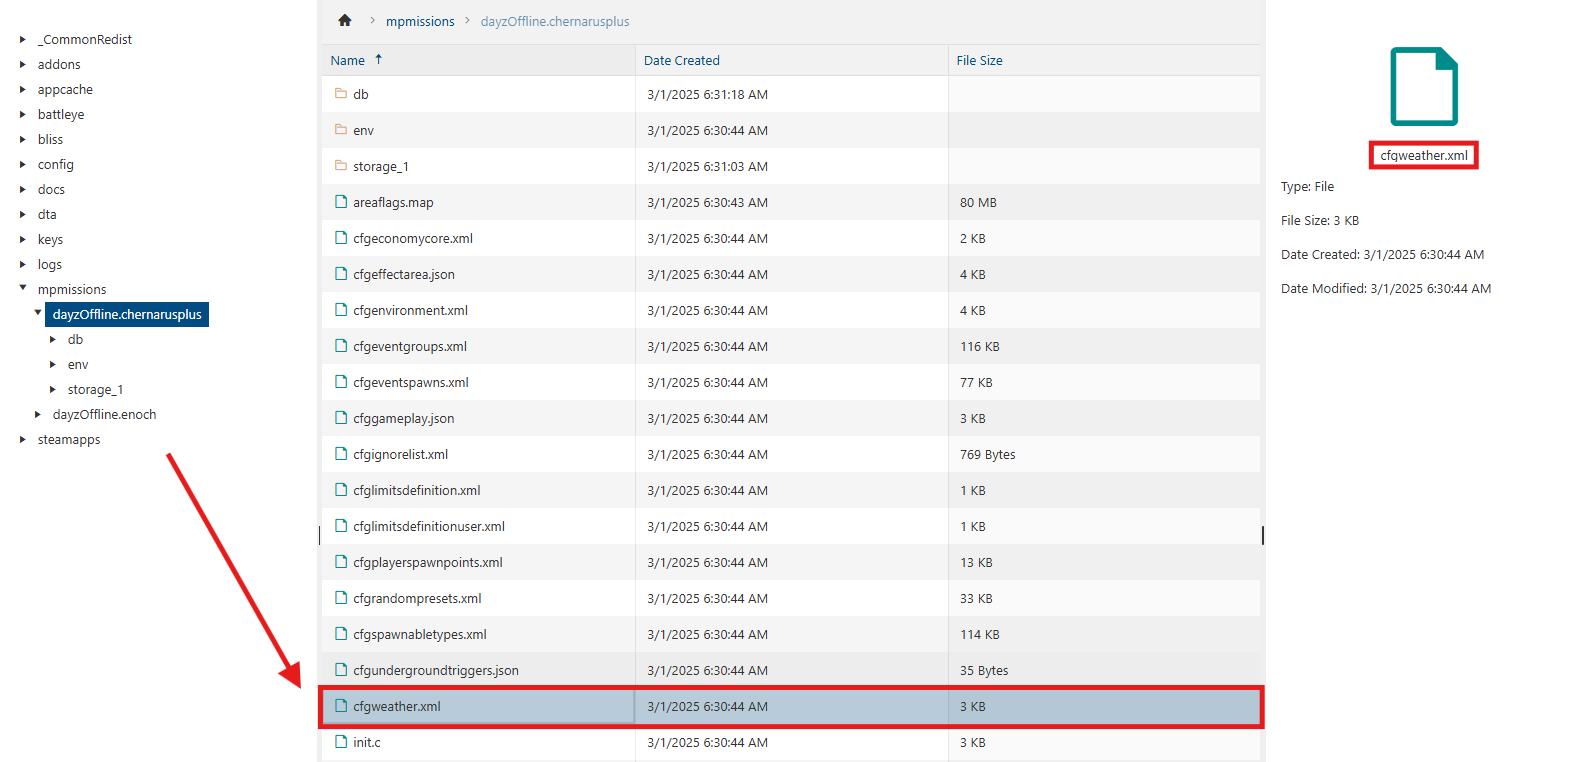
4. In the File Manager, open /mpmissions/<your preferred map>/ and locate the cfgweather.xml file, then select Edit.
5. The example below shows both a complete and a partial cfgweather.xml file, along with explanations for each parameter.
All values correspond directly to the Weather script API, which is documented in 3_Game\Weather.c.
<?xml version="1.0" encoding="UTF-8" standalone="yes" ?>
<!-- 'reset' and 'enable' are a bool, and therefore supports: 0/1, true/false, yes/no -->
<!-- 'reset' controls whether you want to load in the weather from storage or not (false by default) -->
<!-- 'enable' controls whether this file is enabled or not (true by default) -->
<weather reset="0" enable="1">
<overcast>
<!-- Initial conditions of the overcast (target value, time to change, how long will it stay) -->
<current actual="0.45" time="120" duration="240" />
<!-- What is the range of the overcast value (0..1) --> <limits min="0.0" max="1.0" />
<!-- How long does it take to the overcast to change from one value to other (time in seconds) --> <timelimits min="900" max="1800" />
<!-- How much should the overcast change (0..1) -->
<changelimits min="0.0" max="1.0" />
</overcast>
<fog>
<!-- Initial conditions of the fog (target value, time to change, how long will it stay) -->
<current actual="0.1" time="120" duration="240" />
<!-- What is the range of the fog value (0..1) -->
<limits min="0.0" max="1.0" />
<!-- How long does it take to the fog to change from one value to other (time in seconds) -->
<timelimits min="900" max="1800" /> <!-- How much should the fog change (0..1) -->
<changelimits min="0.0" max="1.0" />
</fog>
<rain>
<!-- Initial conditions of the rain (target value, time to change, how long will it stay), restricted by thresholds (see below) -->
<current actual="0.0" time="120" duration="240" />
<!-- What is the range of the rain value (0..1) -->
<limits min="0.0" max="1.0" />
<!-- How long does it take to the rain to change from one value to other (time in seconds) -->
<timelimits min="300" max="600" />
<!-- How much should the rain change (0..1) -->
<changelimits min="0.0" max="1.0" />
<!-- What range of the overcast value allows the rain to be preset (min, max overcast value, time in seconds it takes for rain to stop if the overcast is outside of the specified range) -->
<thresholds min="0.5" max="1.0" end="120" />
</rain>
<wind>
<!-- Maximum wind speed (in m/s) -->
<maxspeed>20</maxspeed>
<!-- Min and max (relative 0..1) for the wind speed range, frequency of the wind changes -->
<params min="0.0" max="1.0" frequency="30" />
</wind>
<!-- Lightning density (0..1), threshold for the lightning appearance (tied to the overcast value, 0..1), time (seconds) between the lightning strikes -->
<storm density="1.0" threshold="0.7" timeout="25"/>
</weather>
6. After editing, click the Save button to apply the changes to your server.

7. In that directory, look for the cfggameplay.json file and open it using Edit.
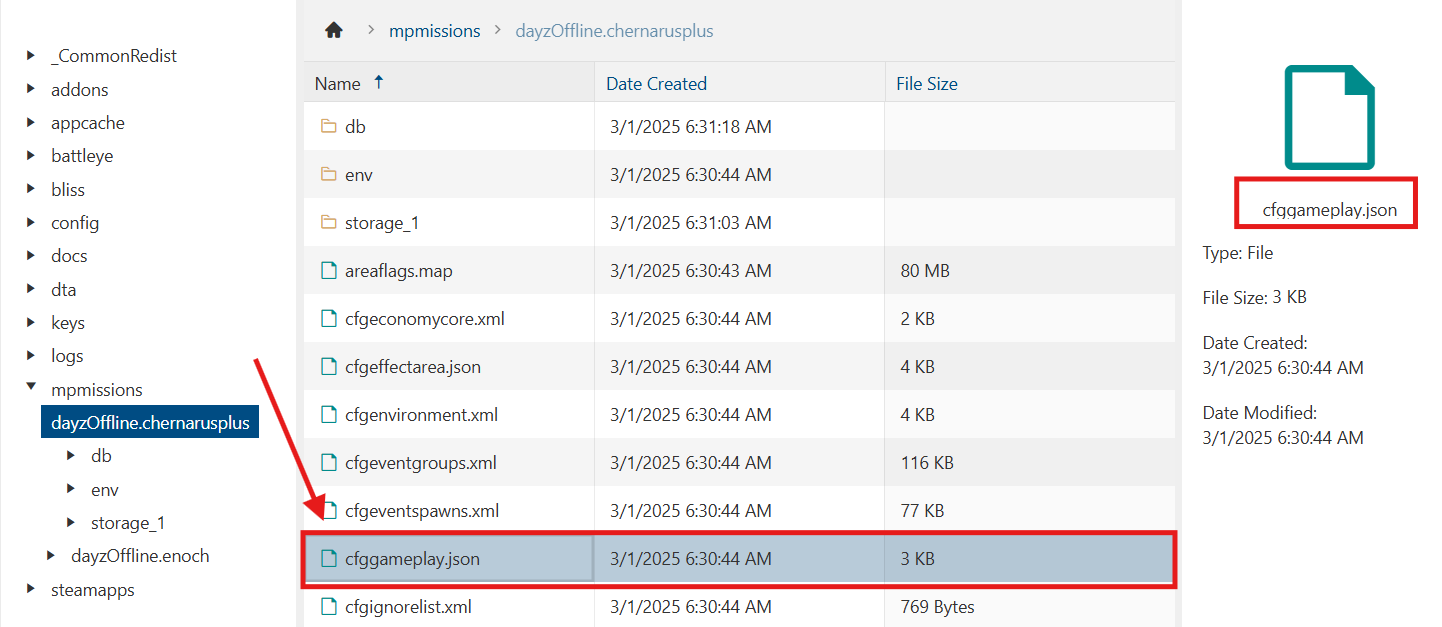
8. In this file, you’ll find a variety of world‑level settings, including options for adjusting overall temperature. If you want to lower the average temperature across the map, you can do it here.
Below is an example configuration that forces the world to remain permanently cold, creating a snow‑like environment similar to Canada, Sweden, and other high‑latitude regions.
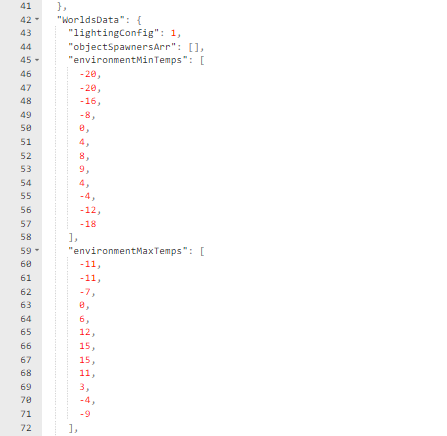
Snowy world parameters:
"environmentMinTemps": [-20, -20, -16, -8, 0, 4, 8, 9, 4, -4, -12, -18],
"environmentMaxTemps": [-11, -11, -7, 0, 6, 12, 15, 15, 11, 3, -4, -9]
9. After editing, click the Save button to apply the changes to your server.
If you encounter any issues, please click here to contact our support team via a ticket for further assistance.