

This guide will help you How to Remove Toxic Areas in your DayZ Standalone Server
Removing toxic (contaminated) areas from your DayZ Standalone server allows you to create a cleaner, more traditional survival experience without gas zones, PPE requirements, or the environmental hazards introduced by dynamic and static contamination. Whether you’re aiming for a more exploration‑focused server, a hardcore but non‑toxic environment, or simply want full control over where contamination appears, adjusting these settings is straightforward once you know where to look. This guide walks you through the files, parameters, and configuration steps needed to fully disable or selectively remove toxic zones from your DayZ server.
Removing Dynamic and Static Contaminated Zones in DayZ
1. Log in to your Game Control Panel, then head over to your server service.
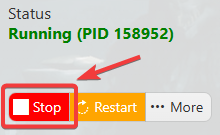
2. Before making any changes, stop the server by clicking the Stop button.
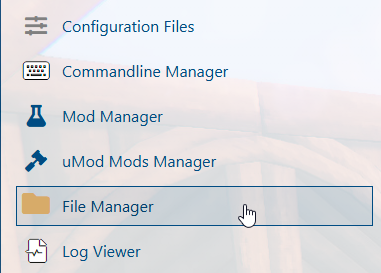
3. Navigate to the File Manager to view and manage your server directory.
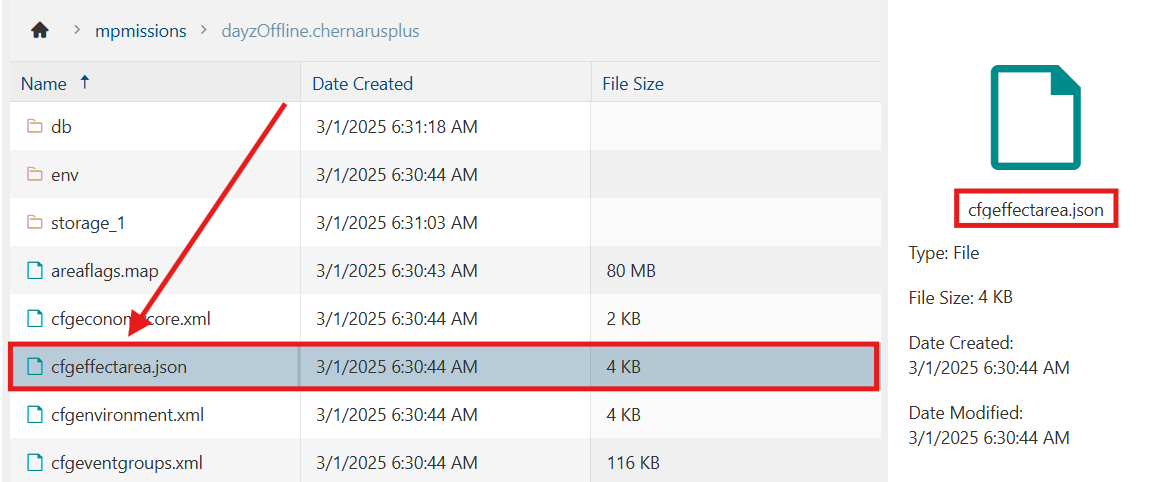
4. From the File Manager, go to /mpmissions/<your preferred map>/, find the cfgEffectArea.json file, and click Edit.
5. Remove all text from the file so it’s empty, then add {} as the sole entry.
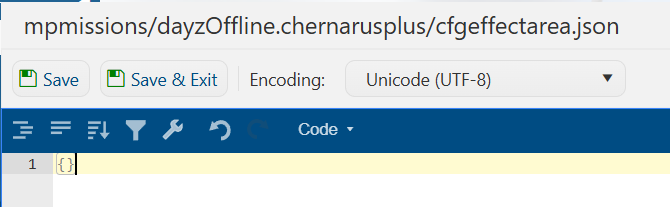
6. After editing, click the Save button to apply the changes to your server.

If you encounter any issues, please click here to contact our support team via a ticket for further assistance.