

This quickstart guide will help you jumpstart your adventure on your Heat server
Welcome to your Heat server! Whether you're hosting a private world for friends or building a dedicated community, getting your server up and running doesn't have to be complicated. This quickstart guide is designed to help you configure the essentials, launch your server, and start playing as quickly as possible. From connecting to your server and understanding the basic configuration files to making your first adjustments, this guide covers the key steps you'll need to begin your survival adventure. Once you've completed the setup, you'll be ready to explore the world of Heat, gather resources, build your base, and survive against both the environment and other players. Let's get your Heat server ready so you can spend less time configuring and more time surviving.
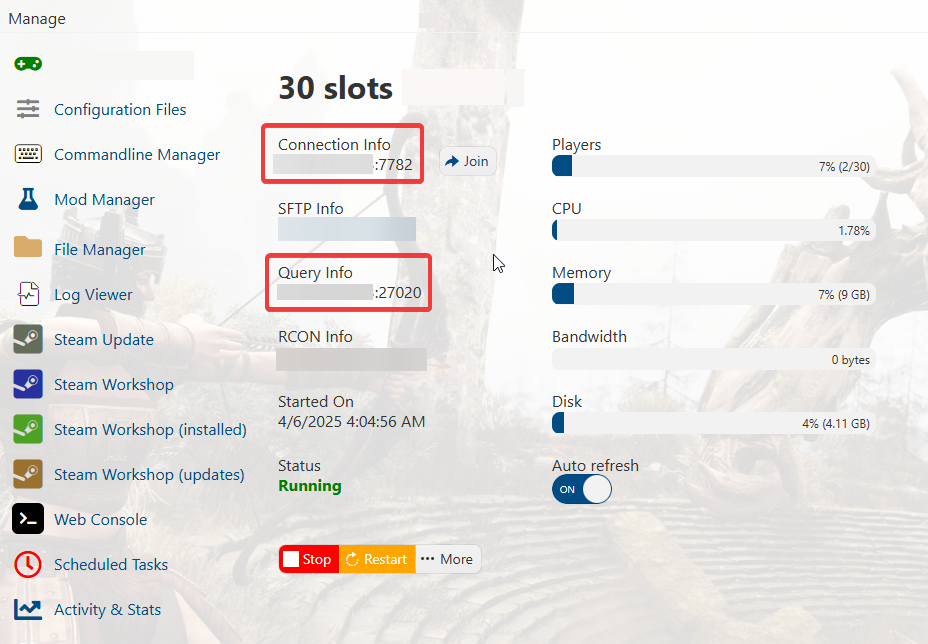
1. Log in to your Game Control Panel, then head over to your server service.
2. Copy the Connection Info or Query Info IP address and port displayed for your server.
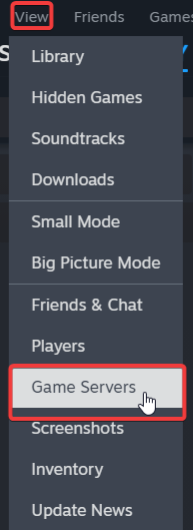
3. Launch Steam, open the View menu, and select Game Servers.
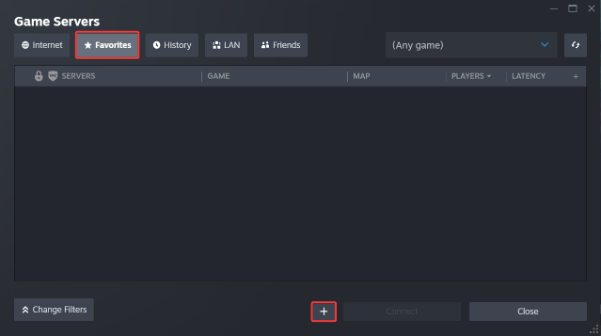
4. Open the Favorites tab, click the + icon, then select Add Server to continue.
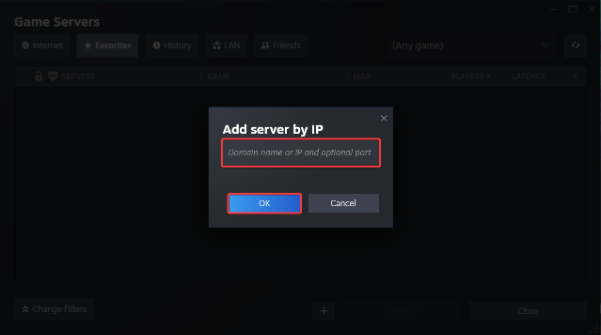
5. Enter the server's Connection Info or Query Info IP address and port to add it to your favorites.
6. Click Connect to establish a connection with your server and begin playing.
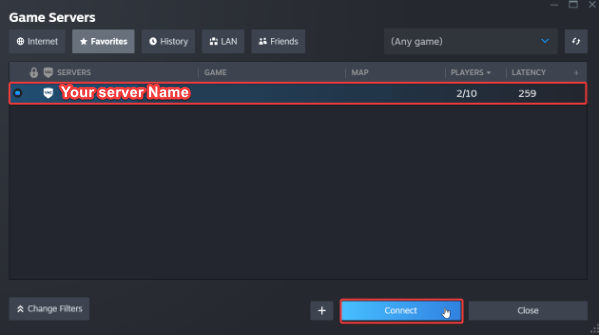
7. Alternatively, you can use the server's Connection Info to connect directly through the game's built-in server browser or official launcher.
To edit server settings, follow these steps:
1. Log in to your Game Control Panel, then head over to your server service.
2. Before making any changes, stop the server by clicking the Stop button.
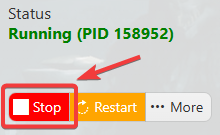
3. Navigate to the Configuration Files Tab and Commandline Manager.
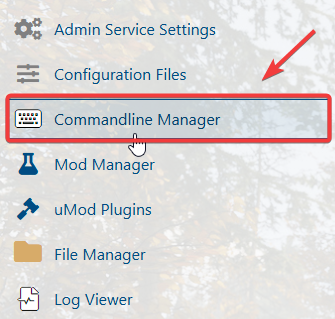
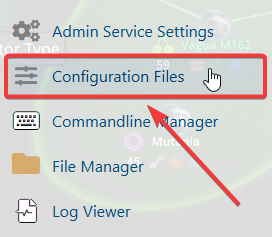
4. For Configuration Files, select the Config Editor button to access an easy-to-use interface for managing your server settings.
A pop-up window will appear, allowing you to quickly modify common options such as the Server Name and Password.
If you prefer more advanced control, you can select Text Editor to edit the configuration file contents directly.

5. For the Commandline Manager, select the command line you want to activate. Most control panels provide a default command line and a modded command line option.
Click Modify on the command line you want to use, then adjust the available settings, such as the Server Name and Password.
You can also configure additional options, including the mods and configuration files loaded with the command line.
Once you have finished making your changes, click Apply at the bottom to save and activate your updated settings.

If you encounter any issues, please click here to contact our support team via a ticket for further assistance.