![]()
Looking for a Necesse Game Server? Click here to order now!
This guide will show you how to install, add, and configure Mods to your Necesse server.
1. Login to your Game Control Panel and stop your server.
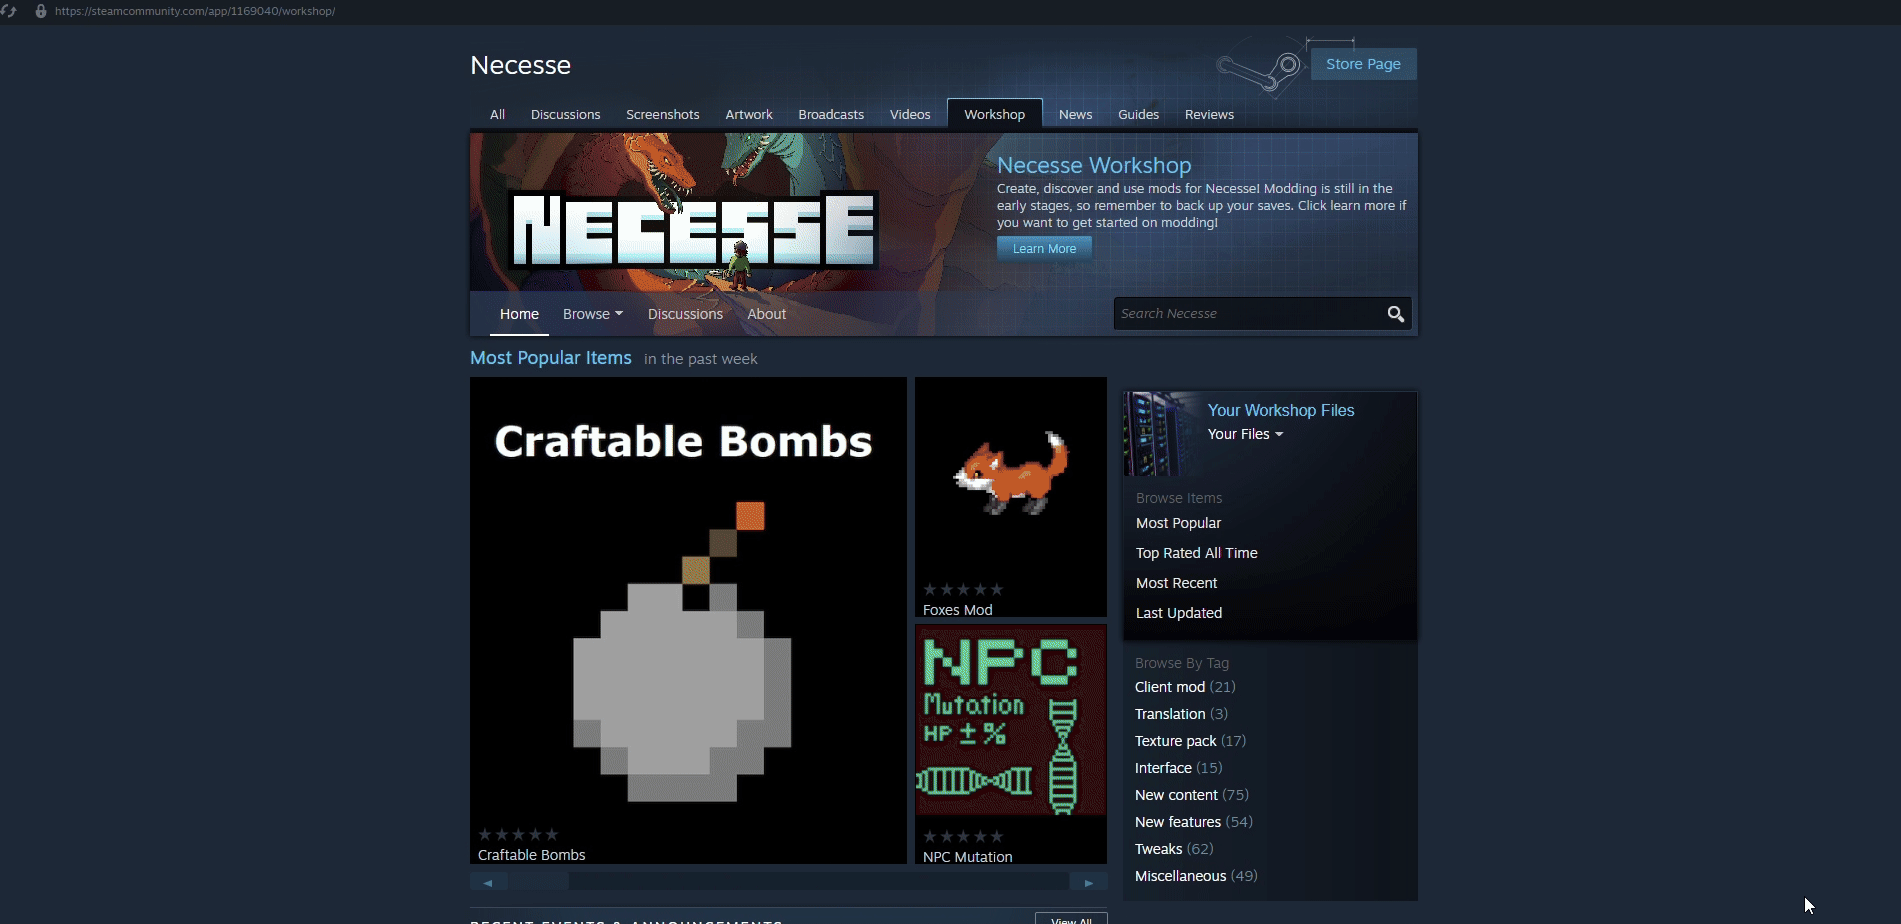
2. To browse for the Mods you'd want to install on your Necesse server,
you need to go to the Necesse Steam Workshop.
3. Once you've chosen your Mod(s), press Subscribe to download it to your computer.
4. The default installation folder is "C:\Program Files (x86)\Steam\steamapps\workshop\content\1169040".
There, you will see folders with .jar files inside, which you will be uploading to the server.
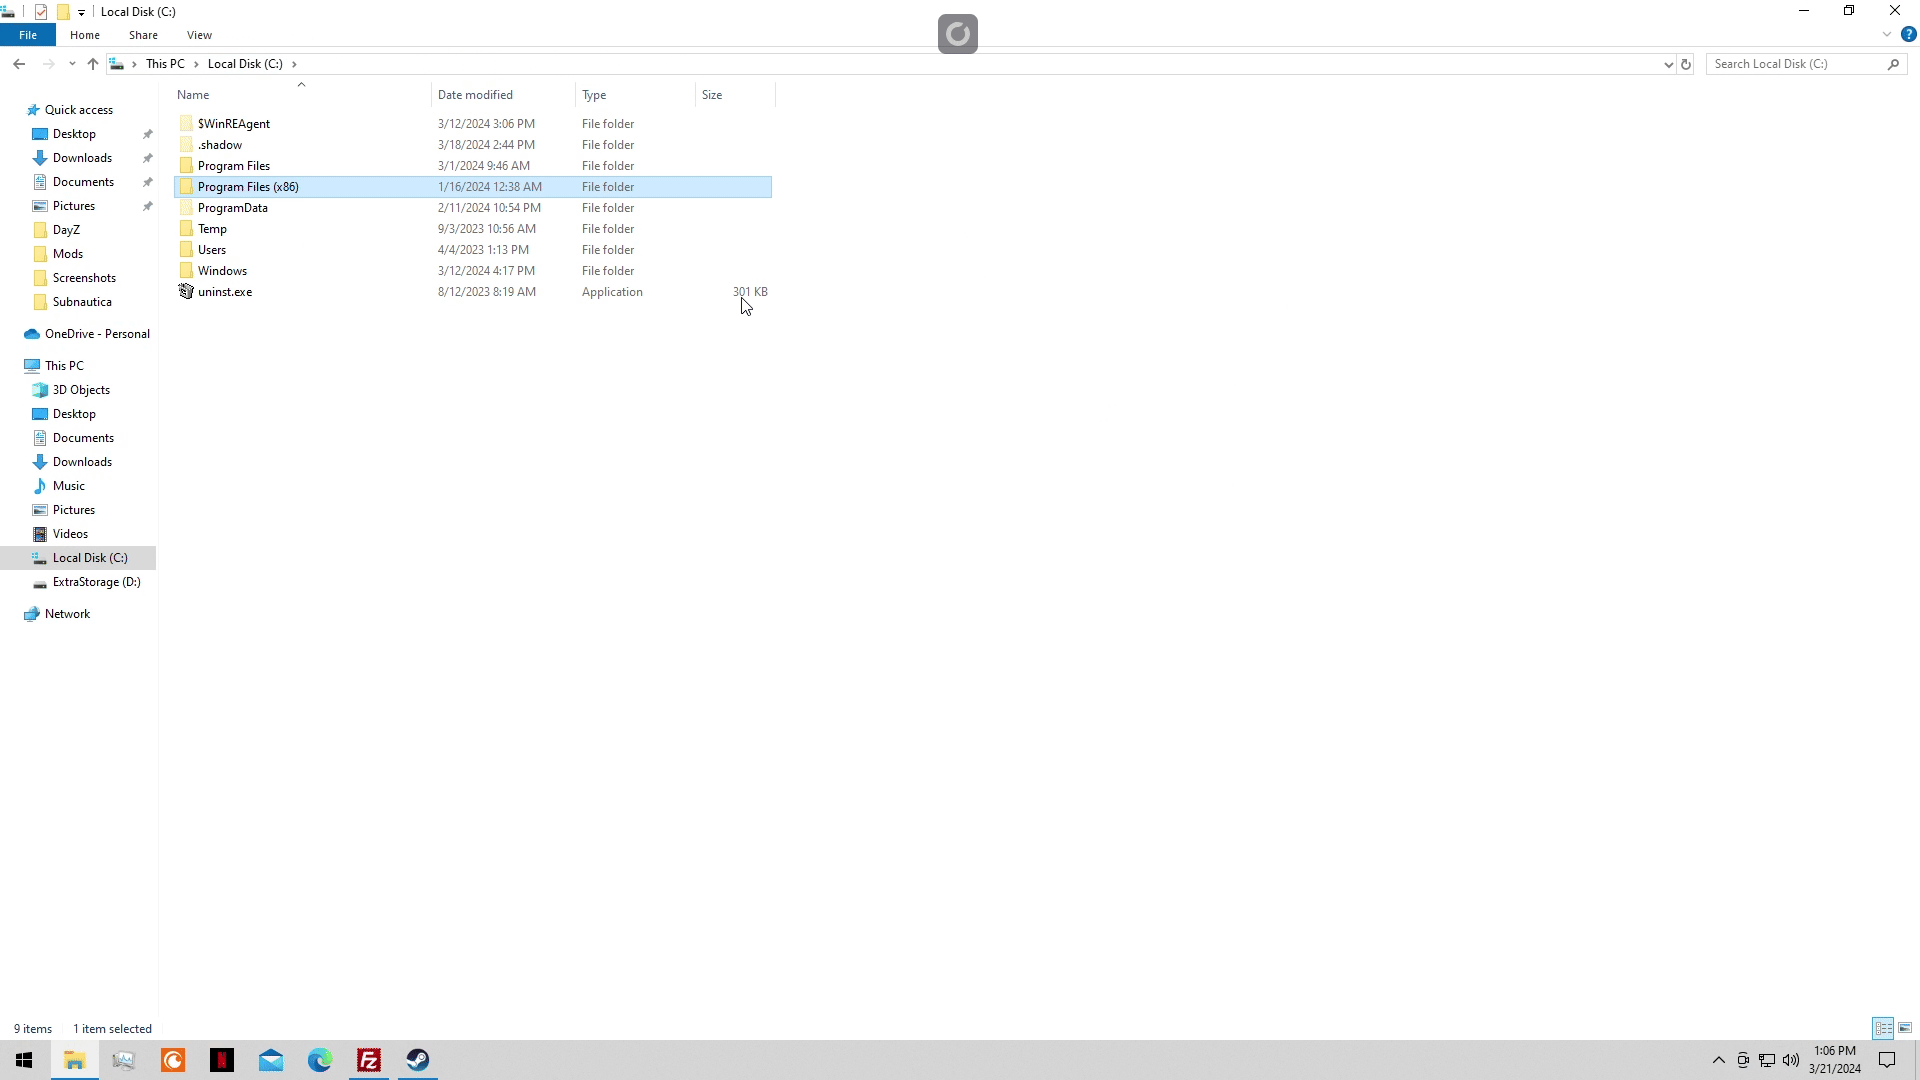
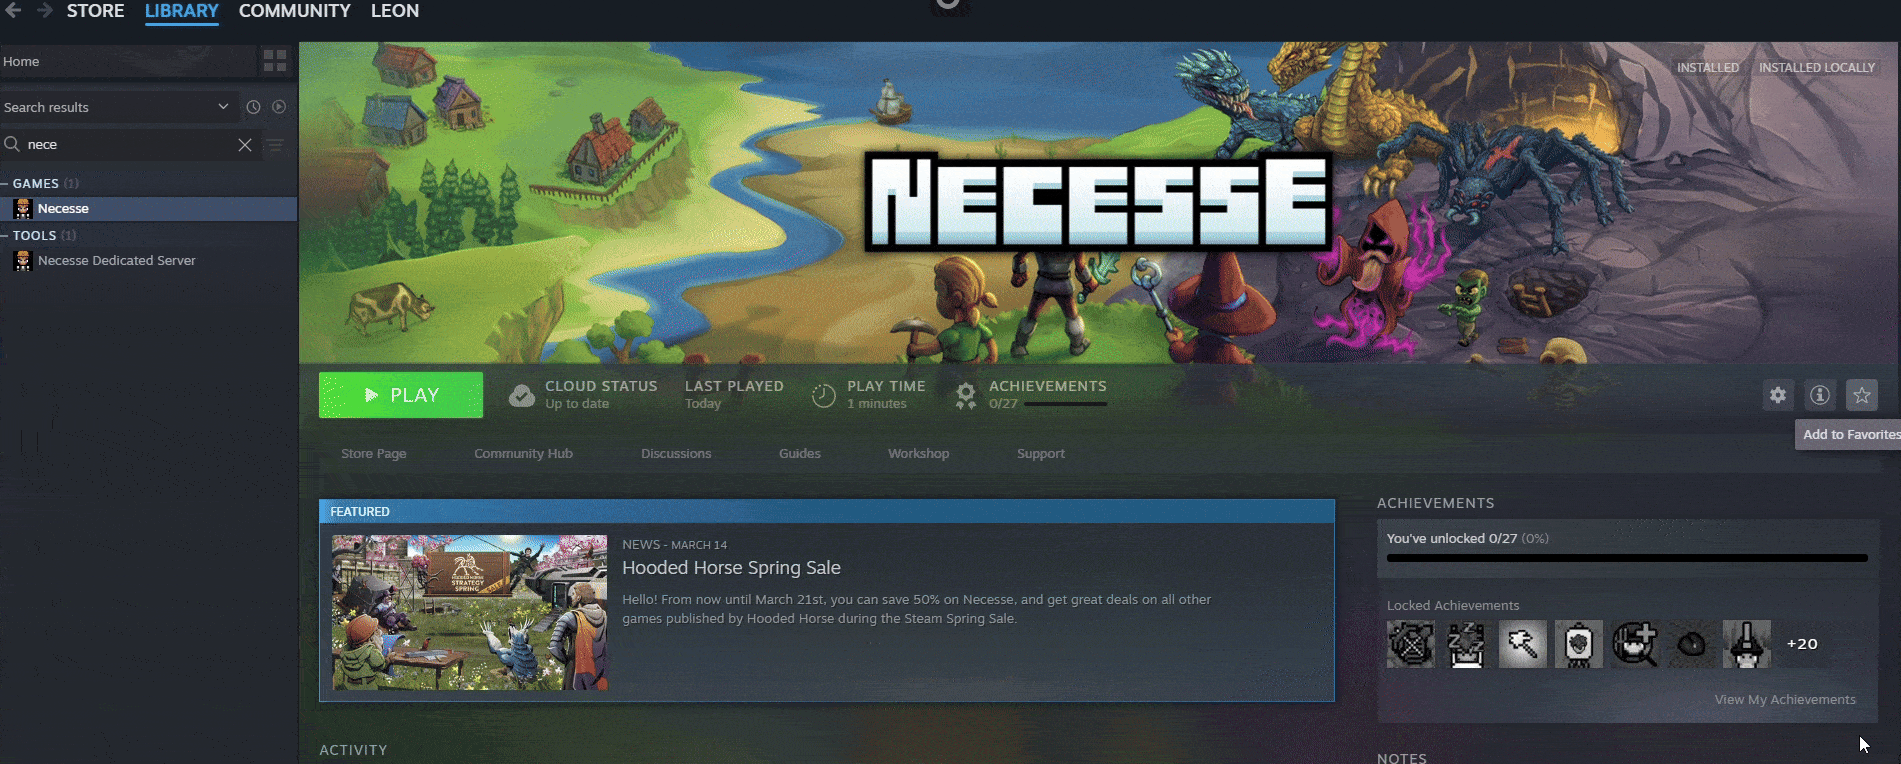
5. If you installed Steam on a different drive, I suggest going to your Steam Library>Necesse Properties>Installed>Browse.
From there, go back two folders to steamapps/ and then follow the default directory.
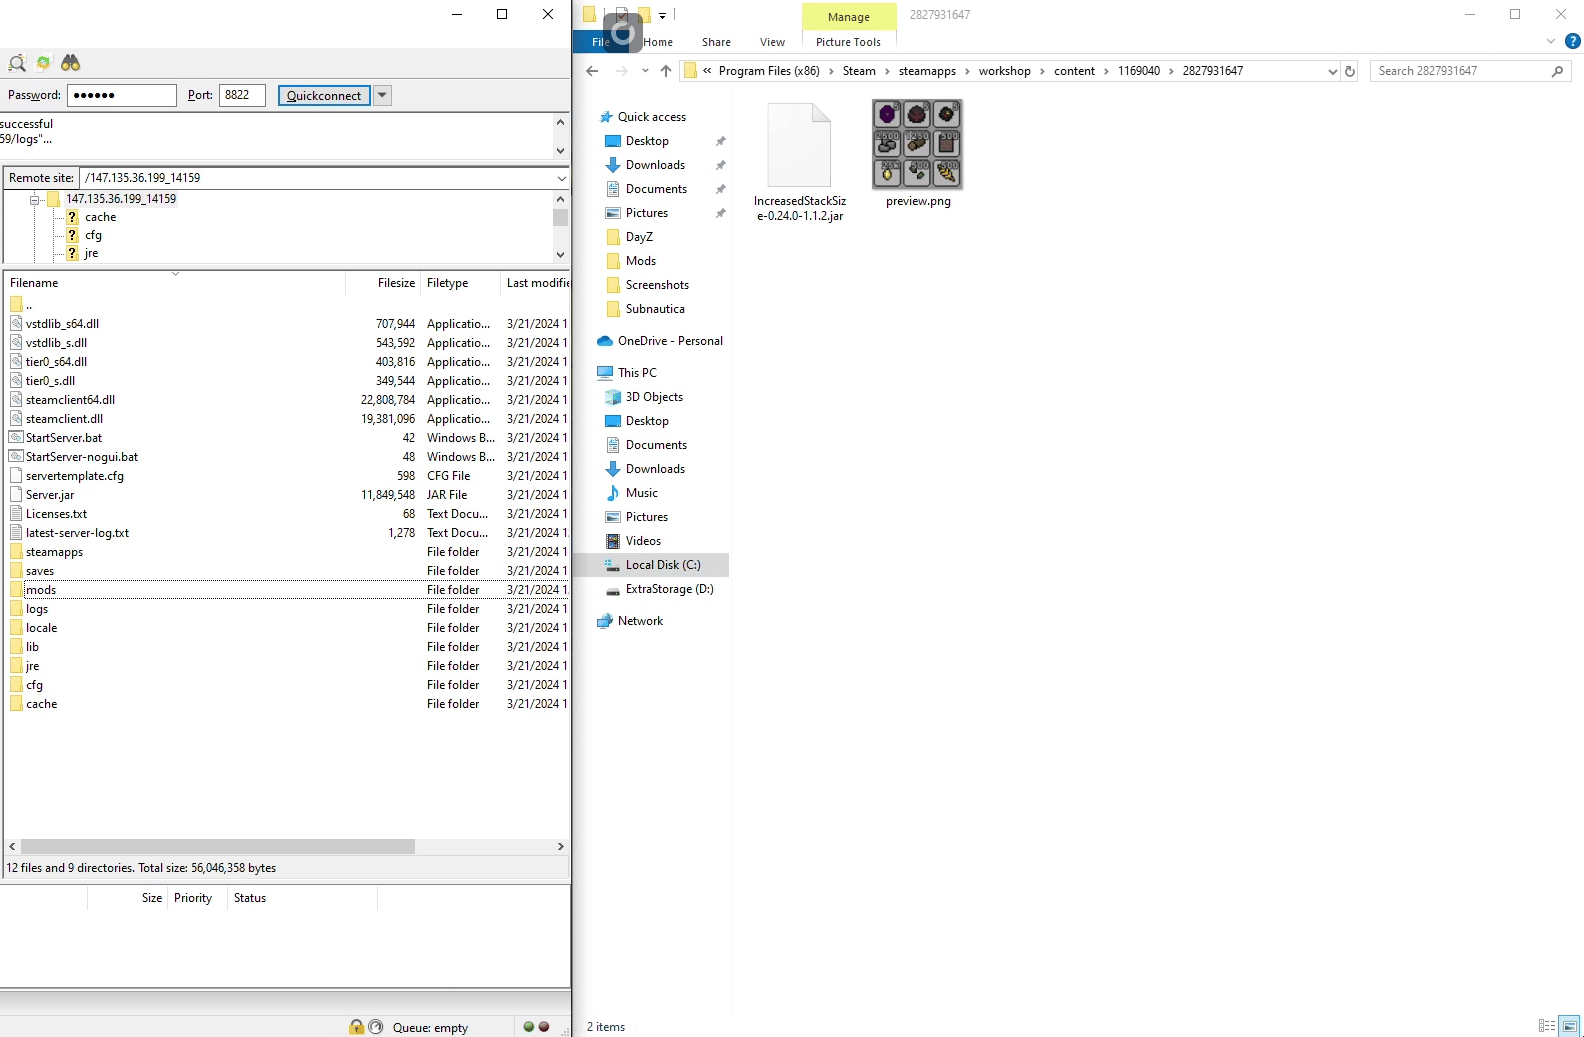
6. You now need to upload these Mods to your Necesse Server via FTP.
(Follow the link if you're unsure on how to set this up)
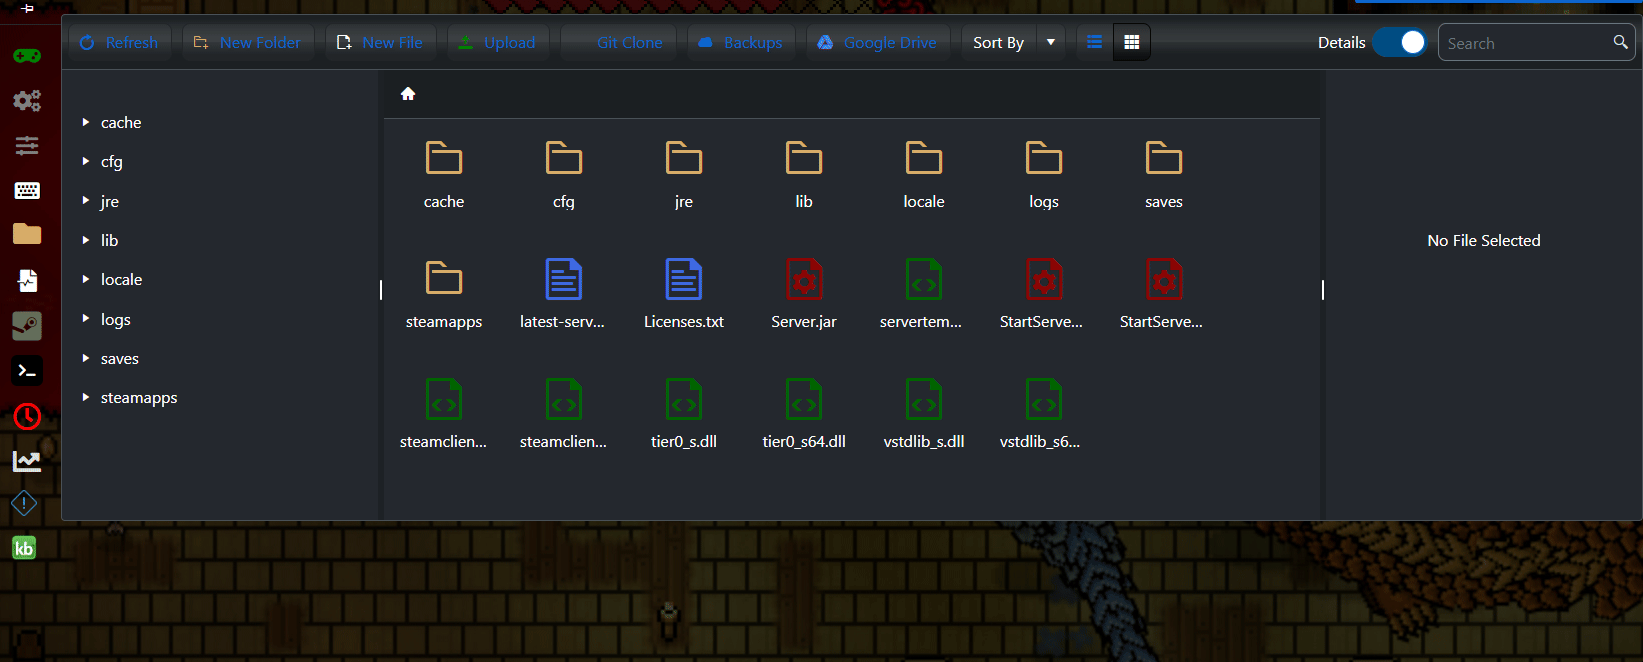
Navigate to your Necesse Server root folder and then to "mods" folder,
there you will drag and drop the .jar files of the Mods.
7. If there is no "mods" folder inside your Necesse Server root directory, navigate to File Manager
and create a "mods" folder. Then proceed to upload the Mod files.
8. Start your server and have fun playing!
Did the above information not work for you? Please click here to contact our support via a ticket.
