

Setting up custom roles on your Enshrouded server gives you precise control over player permissions, helping you tailor moderation, building access, and administrative capabilities to match your community’s needs. Whether you’re organizing staff roles, limiting certain actions, or creating a structured hierarchy for gameplay, custom roles allow you to define exactly what each player can do. This guide explains how Enshrouded handles role permissions, where to configure them, and how to apply your changes so your server runs with a clear and well‑managed role system.
Configuring Custom Roles for Your Enshrouded Server
1. Log in to your Game Control Panel, then head over to your server service.
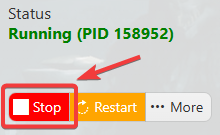
2. Before making any changes, stop the server by clicking the Stop button.
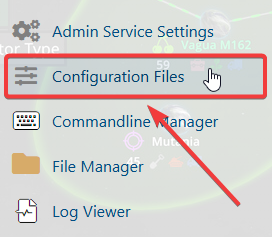
3. Navigate to the Configuration Files Task section.
4. From the Configuration Files, select enshrouded_server.json and open it with the Text Editor located beside the Config Editor.

5. In the Config Editor, look for the userGroups section and define custom roles for your crew, assigning the access and perks appropriate for each role.
Use the following sample template to add custom roles to your Enshrouded server:
{"canAccessInventories": false,"canEditBase": false,"canExtendBase": false,"canKickBan": false,"name": "RoleName","password": "RolePassword","reservedSlots": 0},
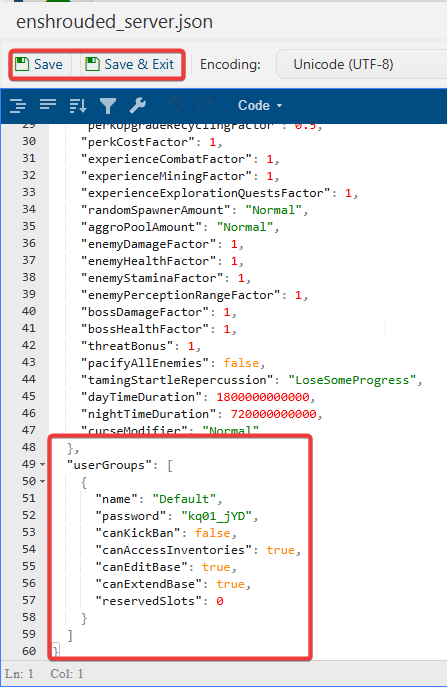
6. After making changes, click the Save button to apply.

If you encounter any issues, please click here to contact our support team via a ticket for further assistance.