![]()
This guide will help you learn how to Set Up and Manage Warps on your Hytale Server.
Click here to order your Hytale server with Ascend Servers today!
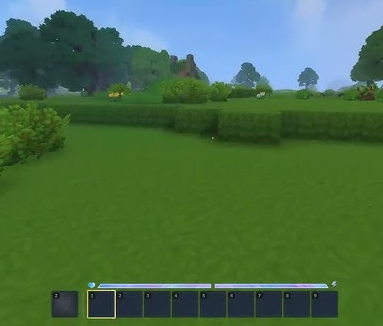
Setting up and managing warps on your Hytale server is one of the most effective ways to enhance player navigation and streamline gameplay. Warps allow players to instantly travel between key locations, whether it’s a bustling town hub, a resource-rich mine, or a custom-built adventure zone. By configuring warps correctly, you not only save time but also create a smoother, more engaging experience for your community. In this guide, we’ll walk through the essentials of creating, customizing, and managing warps so you can keep your server organized and player-friendly. Whether you’re running a small private world or a large multiplayer community, mastering warp setup ensures that your players can explore your server with ease and excitement.
Mastering Warp Setup on Hytale Servers
Note: To delete a warp, use the command:
/warp remove <name>
4. Assign the necessary permissions to players. For detailed guidance on managing permissions, visit this link.
| Permission | Description |
hytale.teleport.command.warp |
The main permission to allow warp subcommands. |
hytale.command.warp.go |
Allows the /warp go command. |
hytale.command.warp.list |
Allows the /warp list command. |
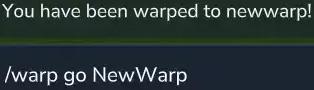
5. Use the teleport command with the warp name to travel instantly.
| Command | Description |
/warp list |
Displays the list of warps to teleport to. |
/warp go <name> |
Teleports to the desired warp name. |
/whereami |
Displays the current coordinates of the player. |
How to Set Up and Edit Warp Files in Hytale Servers
1. Log in to your Game Control Panel and navigate to your service.
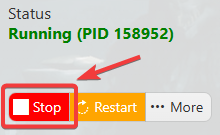
2. Before making any modifications, stop the server from running by clicking the Stop button.
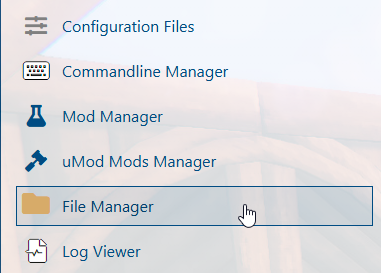
3. Navigate to the Files Manager Tab.
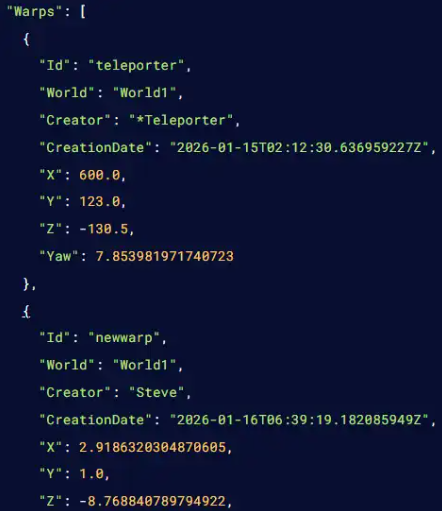
4. Open the directory /universe/worlds/(your world) and locate the warps.json file.
Note: The warps.json file will appear only once a warp has been created during gameplay.
5. Open the warps.json file and adjust the warp entries as needed.
6. After editing, click the Save button to apply the changes to the server.

If you encounter any issues, please click here to contact our support team via a ticket for further assistance.
