
This guide will show you how to add Darkness Falls to your 7 Days to Die Server
Order a 7 Days To Die Server today with Ascend Servers.
The Darkness Falls overhaul transforms 7 Days to Die into a far more challenging, immersive, and progression‑focused experience. Installing it on your server lets you bring those deeper mechanics, tougher enemies, expanded crafting, and reworked skill systems to your entire community. Whether you’re hosting a private co‑op world or a large multiplayer server, adding Darkness Falls ensures your players get a richer, more demanding survival journey. This guide walks you through the installation process step‑by‑step so you can deploy the overhaul cleanly and keep your server running smoothly.
Installing Darkness Falls on Your 7 Days to Die Server
1. Log in to your Game Control Panel, then head over to your server service.
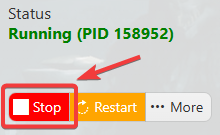
2. Before making any changes, stop the server by clicking the Stop button.
Choose the Darkness Falls version you plan to use, then install the supported 7 Days to Die version to keep your server stable.
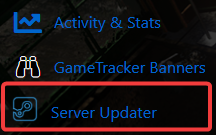
3. Go to the Server Updater.
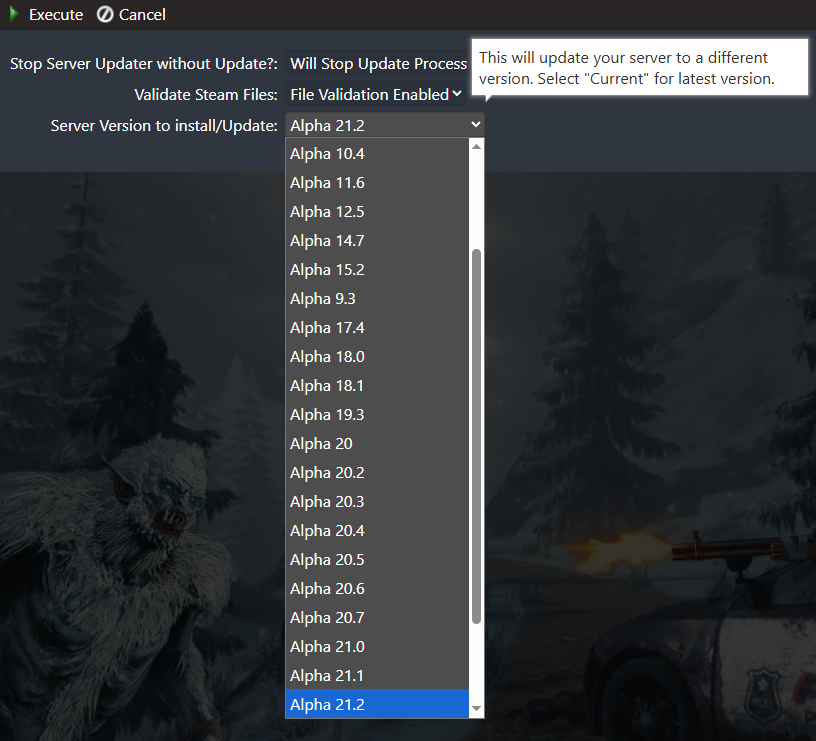
4. Within the Server Updater, choose Server Version to Install/Update and select the correct game version that matches your Darkness Falls mod version.
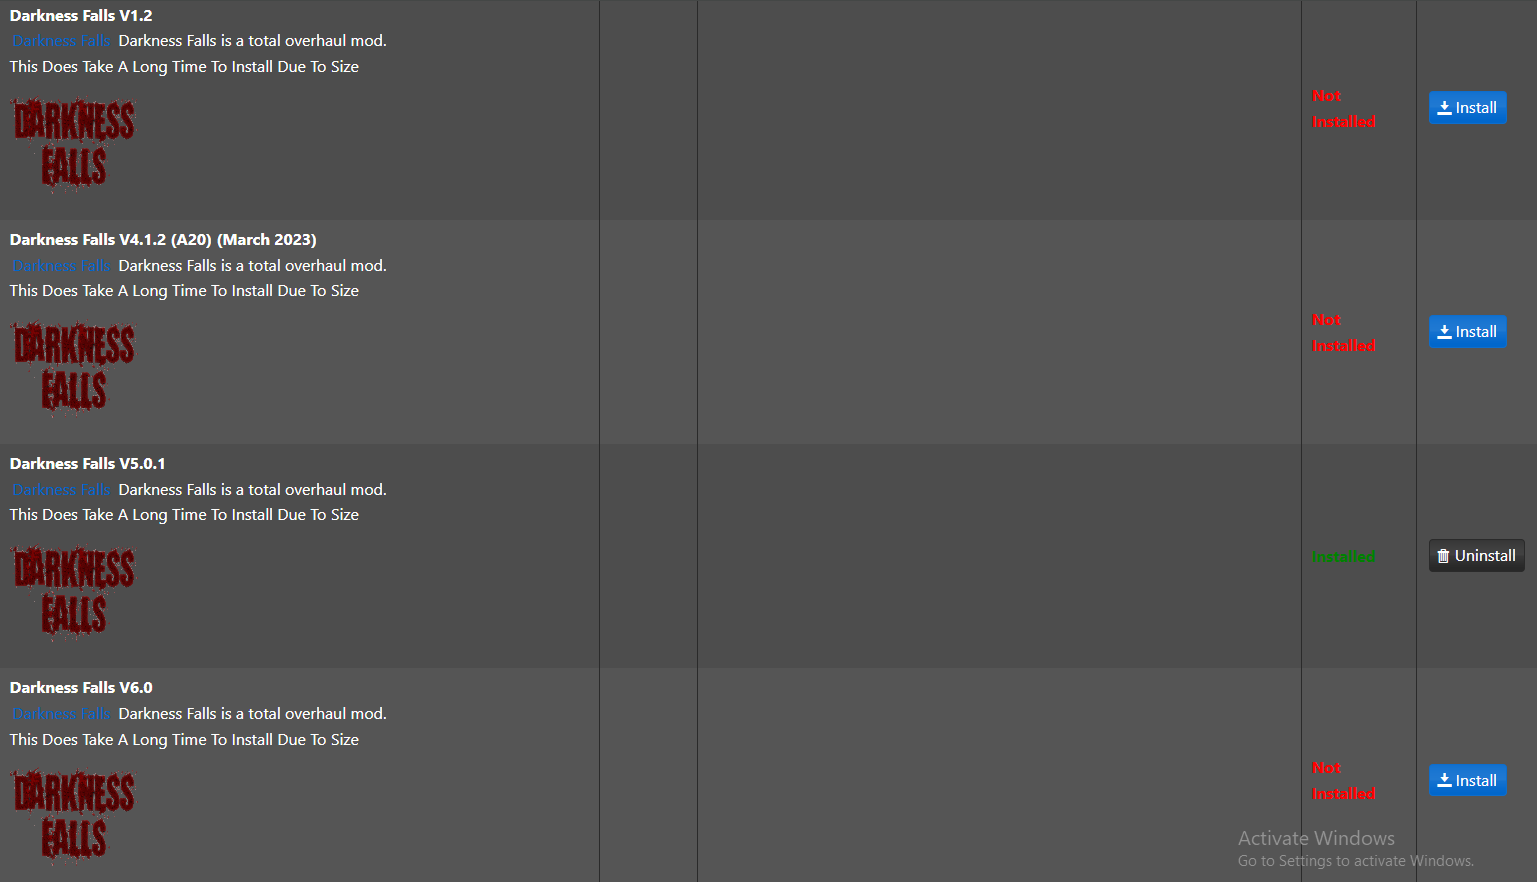
5. After updating the base game version, open the Mod Manager. Scroll to the Darkness Falls category and install the mod version you planned to use.
NOTE: For players to join, they must install the Darkness Falls mod on their own game in addition to the server.
If you encounter any issues, please click here to contact our support team via a ticket for further assistance.