

This guide will show you how to Activate Crossplay Compatibility on your 7 Days to Die Server
Order a 7 Days To Die Server today with Ascend Servers.
Enabling crossplay on your 7 Days to Die server lets players from different platforms join the same world, making your community more accessible and connected. Whether your group plays on PC, console, or a mix of both, activating crossplay ensures everyone can survive, build, and explore together without platform barriers. This guide walks you through the steps to enable crossplay compatibility on your server, helping you create a seamless, unified multiplayer experience for all players.
(NOTE: Since console clients cannot connect to modded servers, always confirm whether the server has mods before joining. For crossplay setups, an 8192 world size is recommended. Click here for additional information on world sizes.)
What You Need to Enable Crossplay on Your 7 Days to Die Server
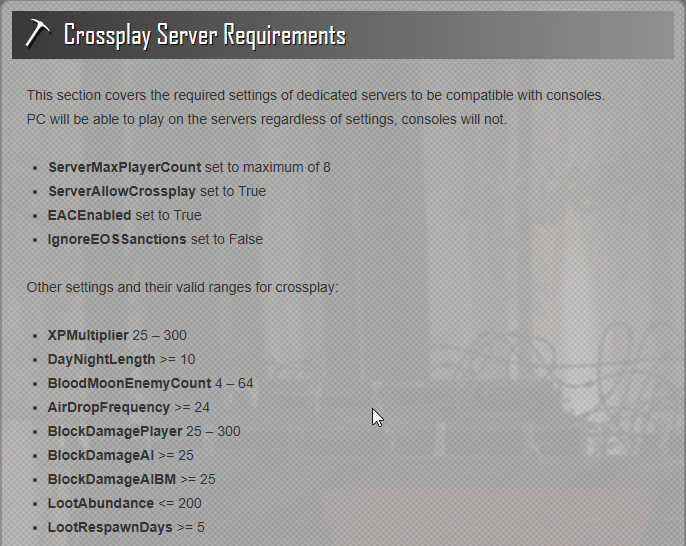
Enabling Crossplay Support on Your 7 Days to Die Server
1. Log in to your Game Control Panel, then head over to your server service.
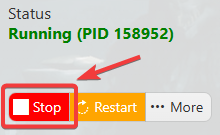
2. Before making any changes, stop the server by clicking the Stop button.
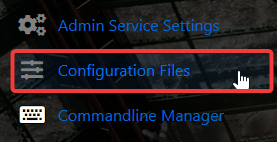
3. Navigate to the Configuration Files Task section.
4. In the Configuration Files menu, find the platform.cfg file and use either the Text Editor or Config Editor to access it.

5. From the Config Editor, simply enable EOS. On the manual side, you can activate EOS by changing the cross-platform value to EOS. You may also add any service platforms you want to include for crossplay.
Config Editor
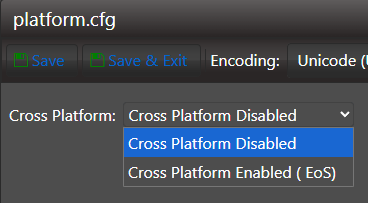
Text Editor
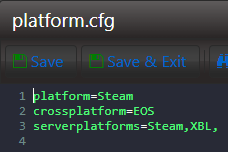
6. When you’re done editing, click the Save button to ensure the changes are applied to your server.

If you encounter any issues, please click here to contact our support team via a ticket for further assistance.