

This guide will help you with how to Set Up WebAdmin on your Killing Floor 2 Server
Take Your Killing Floor 2 Experience to the Next Level with Ascend Servers
Managing a Killing Floor 2 server is much easier with WebAdmin, which provides a convenient web-based interface for configuring and monitoring your server. Instead of relying solely on in-game commands or editing configuration files manually, WebAdmin allows you to manage various server settings, view connected players, change maps, and perform administrative tasks directly from your web browser. This guide will walk you through the steps required to enable and access WebAdmin on your Killing Floor 2 server. Whether you’re setting up your server for the first time or looking for an easier way to manage an existing server, WebAdmin provides a straightforward and user-friendly solution.
Setting Up WebAdmin on Your Killing Floor 2 Server
1. Log in to your Game Control Panel, then head over to your server service.
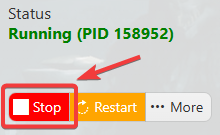
2. Before making any changes, stop the server by clicking the Stop button.
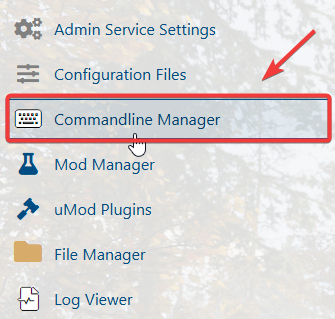
3. Navigate to the Commandline Manager Task section.
4. Locate KFWeb.ini in the configuration files list and click Text Editor to open the file and begin making your changes.
5. Under the [IpDrv.WebServer] section, change bEnabled to true to enable the WebAdmin service.
6. When you're finished, click Apply to save your changes, then start the server.
Your Killing Floor 2 WebAdmin interface is now enabled and ready to access, allowing you to manage and configure your server through the web interface.
Accessing the WebAdmin Panel of your Killing Floor 2 Server
Open your server’s Overview page in the Game Panel, then use the available WebAdmin option to access the WebAdmin interface.
You will see this icon in your server overview:

Click the icon to launch the Killing Floor 2 WebAdmin interface.
The default WebAdmin username is admin. You can find the corresponding password in your configuration files under the AdminPassword setting.
Open KFGame\Config\PCServer-KFGame.ini and locate the AdminPassword setting. You should see a line similar to AdminPassword=examplepass.
Setting Up Multiple WebAdmin Accounts
Open KFWebAdmin.ini and, under the [WebAdmin.WebAdmin] section, add the following line:
AuthenticationClass=WebAdmin.MultiWebAdminAuth
Start the server once to generate the MultiAdmin.ini file. Once the file has been created, you can add additional administrator usernames and passwords either through the WebAdmin interface or by editing the file manually.
To add administrators manually, open MultiAdmin.ini and add the required details for each administrator under the [Admin MultiAdminData] section:
DisplayName="AdminName" // Punctuation matters for this value.
Password="123Admin" // Use an alphanumeric password.
Order="DenyAllow"
bEnabled="True" // Enables this administrator account.
For each administrator, add the following entries under [Admin MultiAdminData]. Replace the example values with the desired username and password.
If you encounter any issues, please click here to contact our support team via a ticket for further assistance.